Kindly follow gym recycled rubber flooring installation steps for your own projects as below. Long Long is not only the gym rubber flooring factory, but also a professional installer.
1- You will require for gym rubber flooring installation:
A sharp knife and/or electric jig saw
A pen or A piece of chalk
A long metal rule or other straight edge (>30cm)
Glue (PU, AB)
2- Flooring condition
Flat and clean concrete floor for indoor project
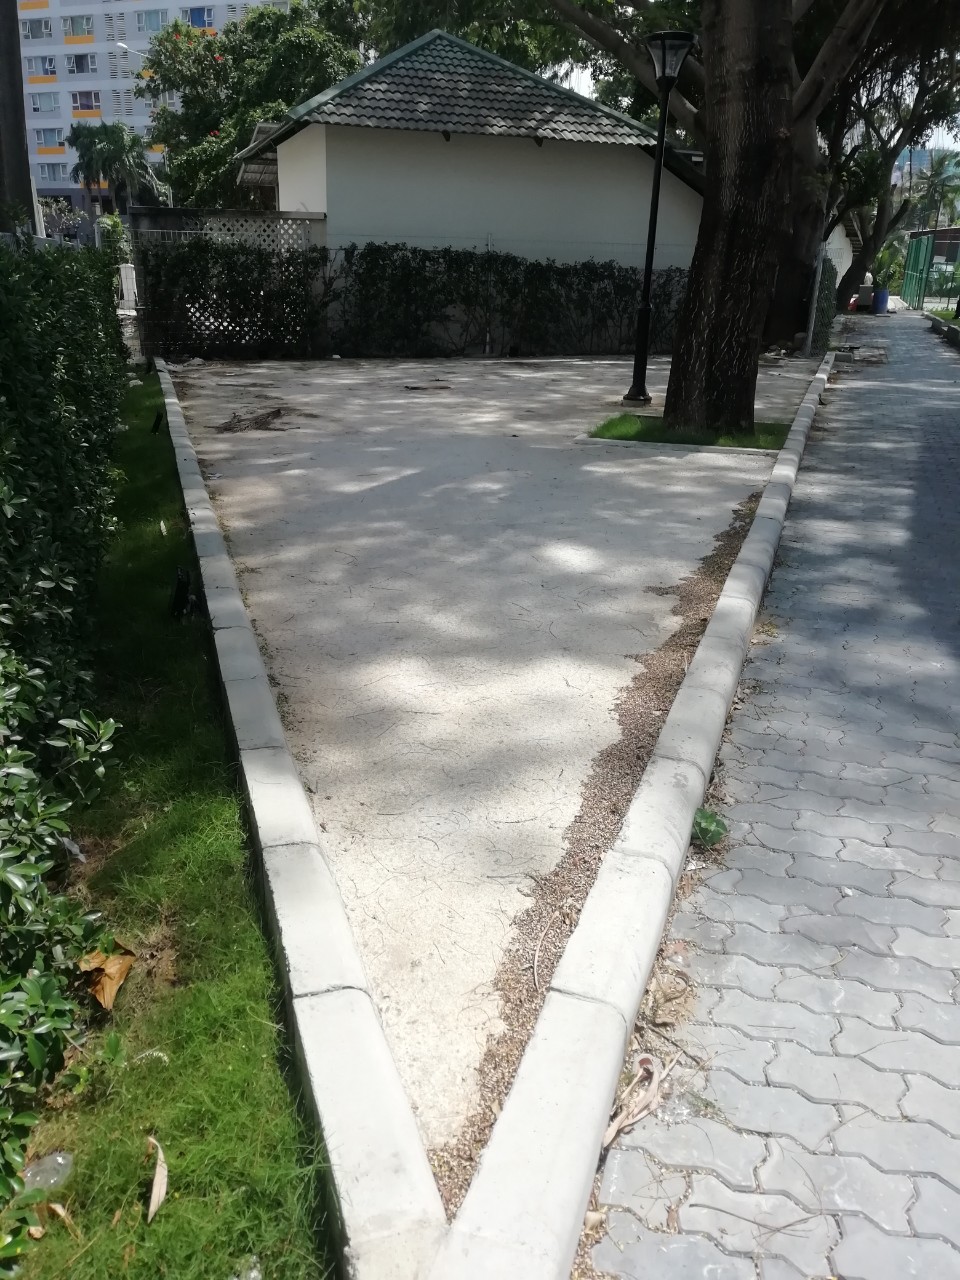
Noted: must have water drainage solution for base concrete floor and border for outdoor project.
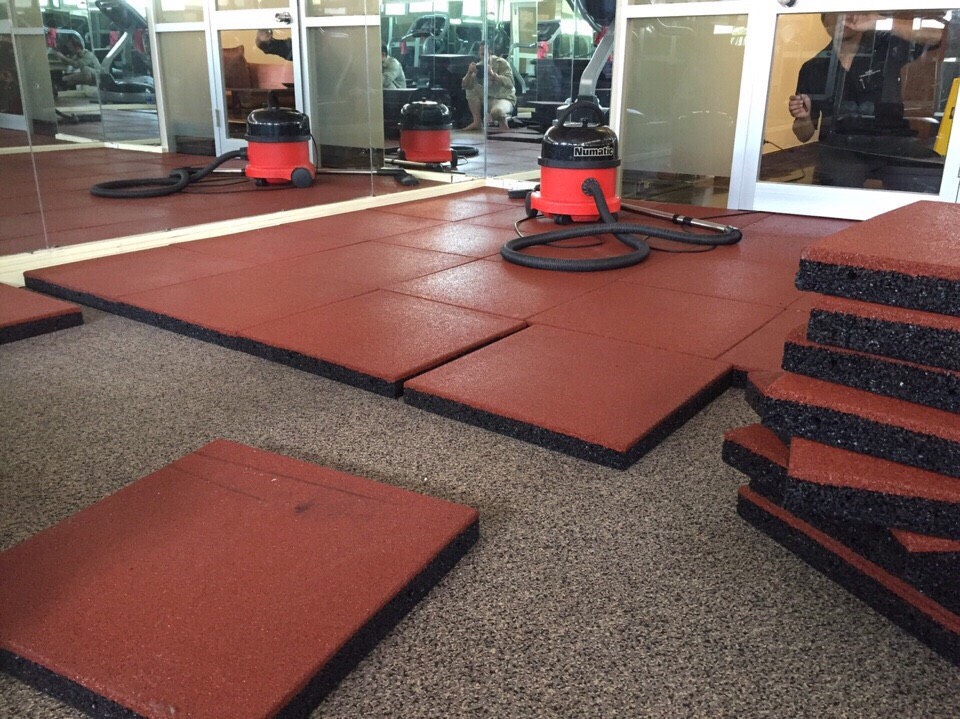
Please see picture for gym rubber flooring installation
3- Rubber tile installation steps
1: Arrange the rubber tiles on the entire surface, suggest to lay rubber tiles in sole style for better looking. Please see picture:
Sole style
Straight style
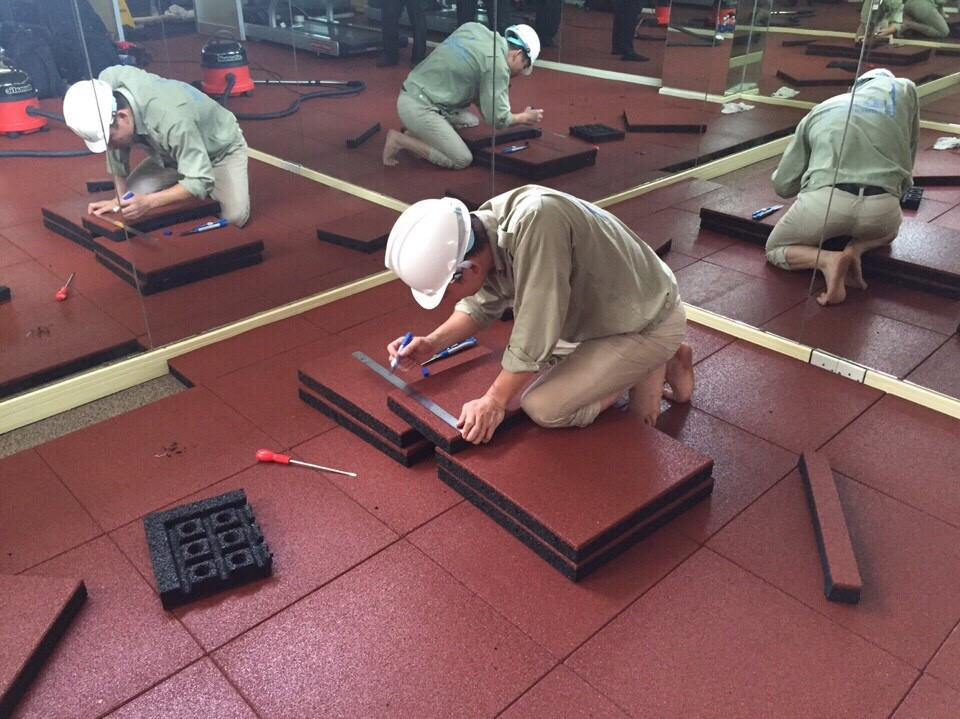
Step 2: Any tiles that require shaping can be cut using your straight edge and knife. Noted that to cut and fit the partial border tile along the walls, measure the distance to the wall and cut more than 2-3mm compare to the real distance.
Step 3: Then put the glue in all areas without baseboard to create a fixed row. Note that only spread the glue at the outer layer of rubber tile, the inner layer will be sticked also.
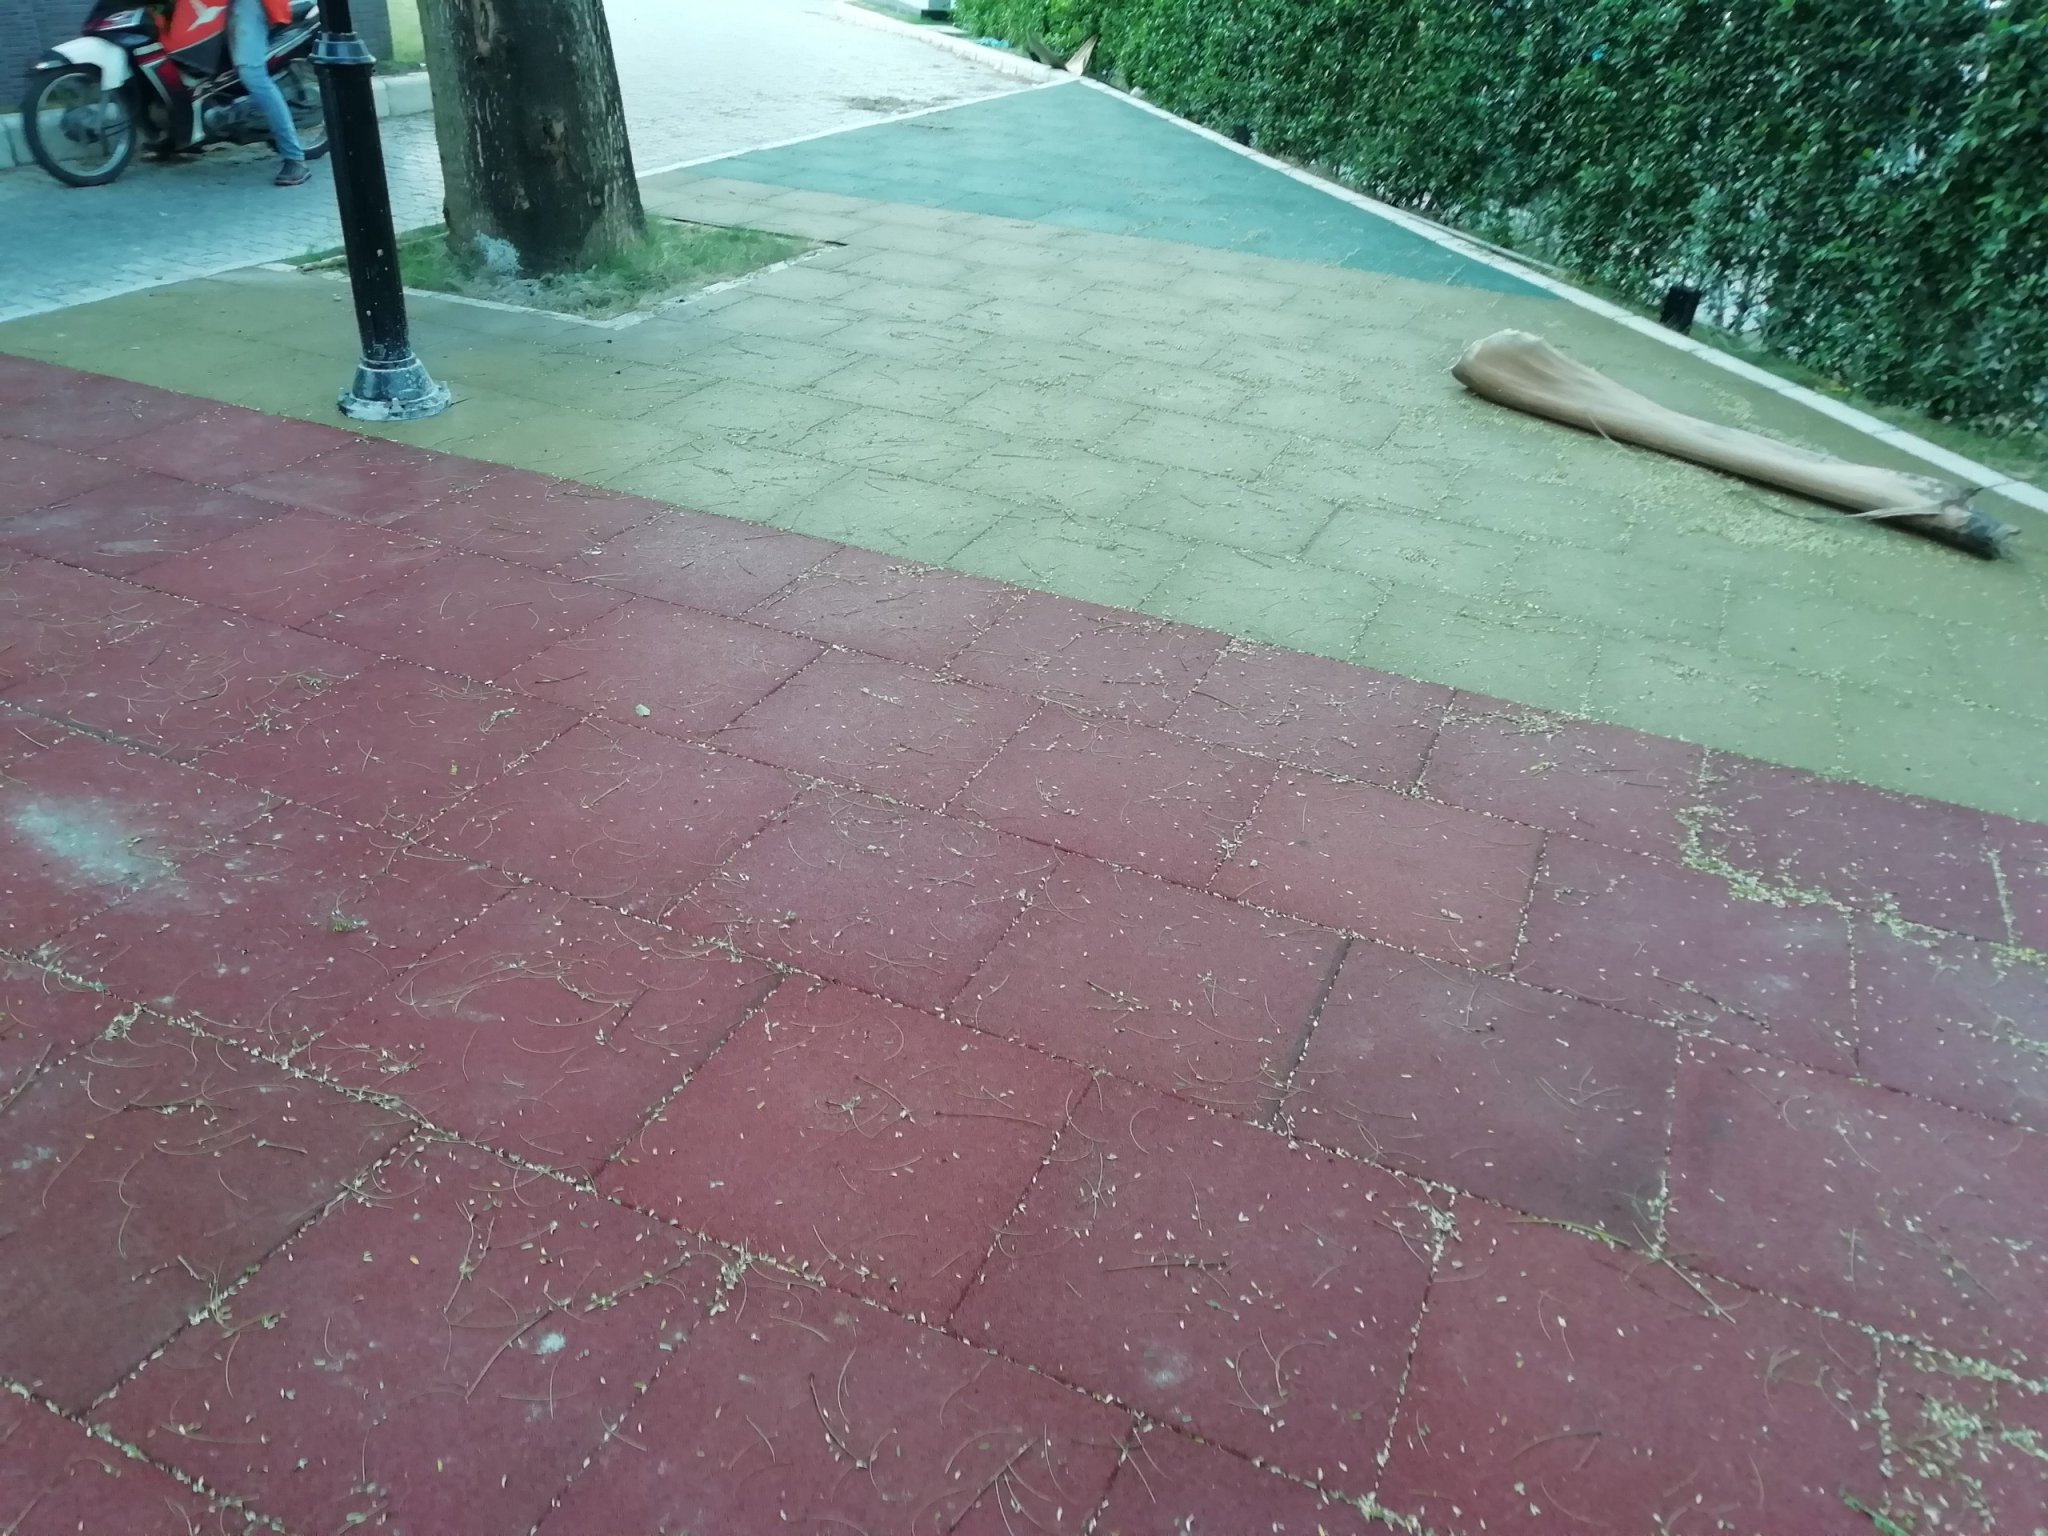
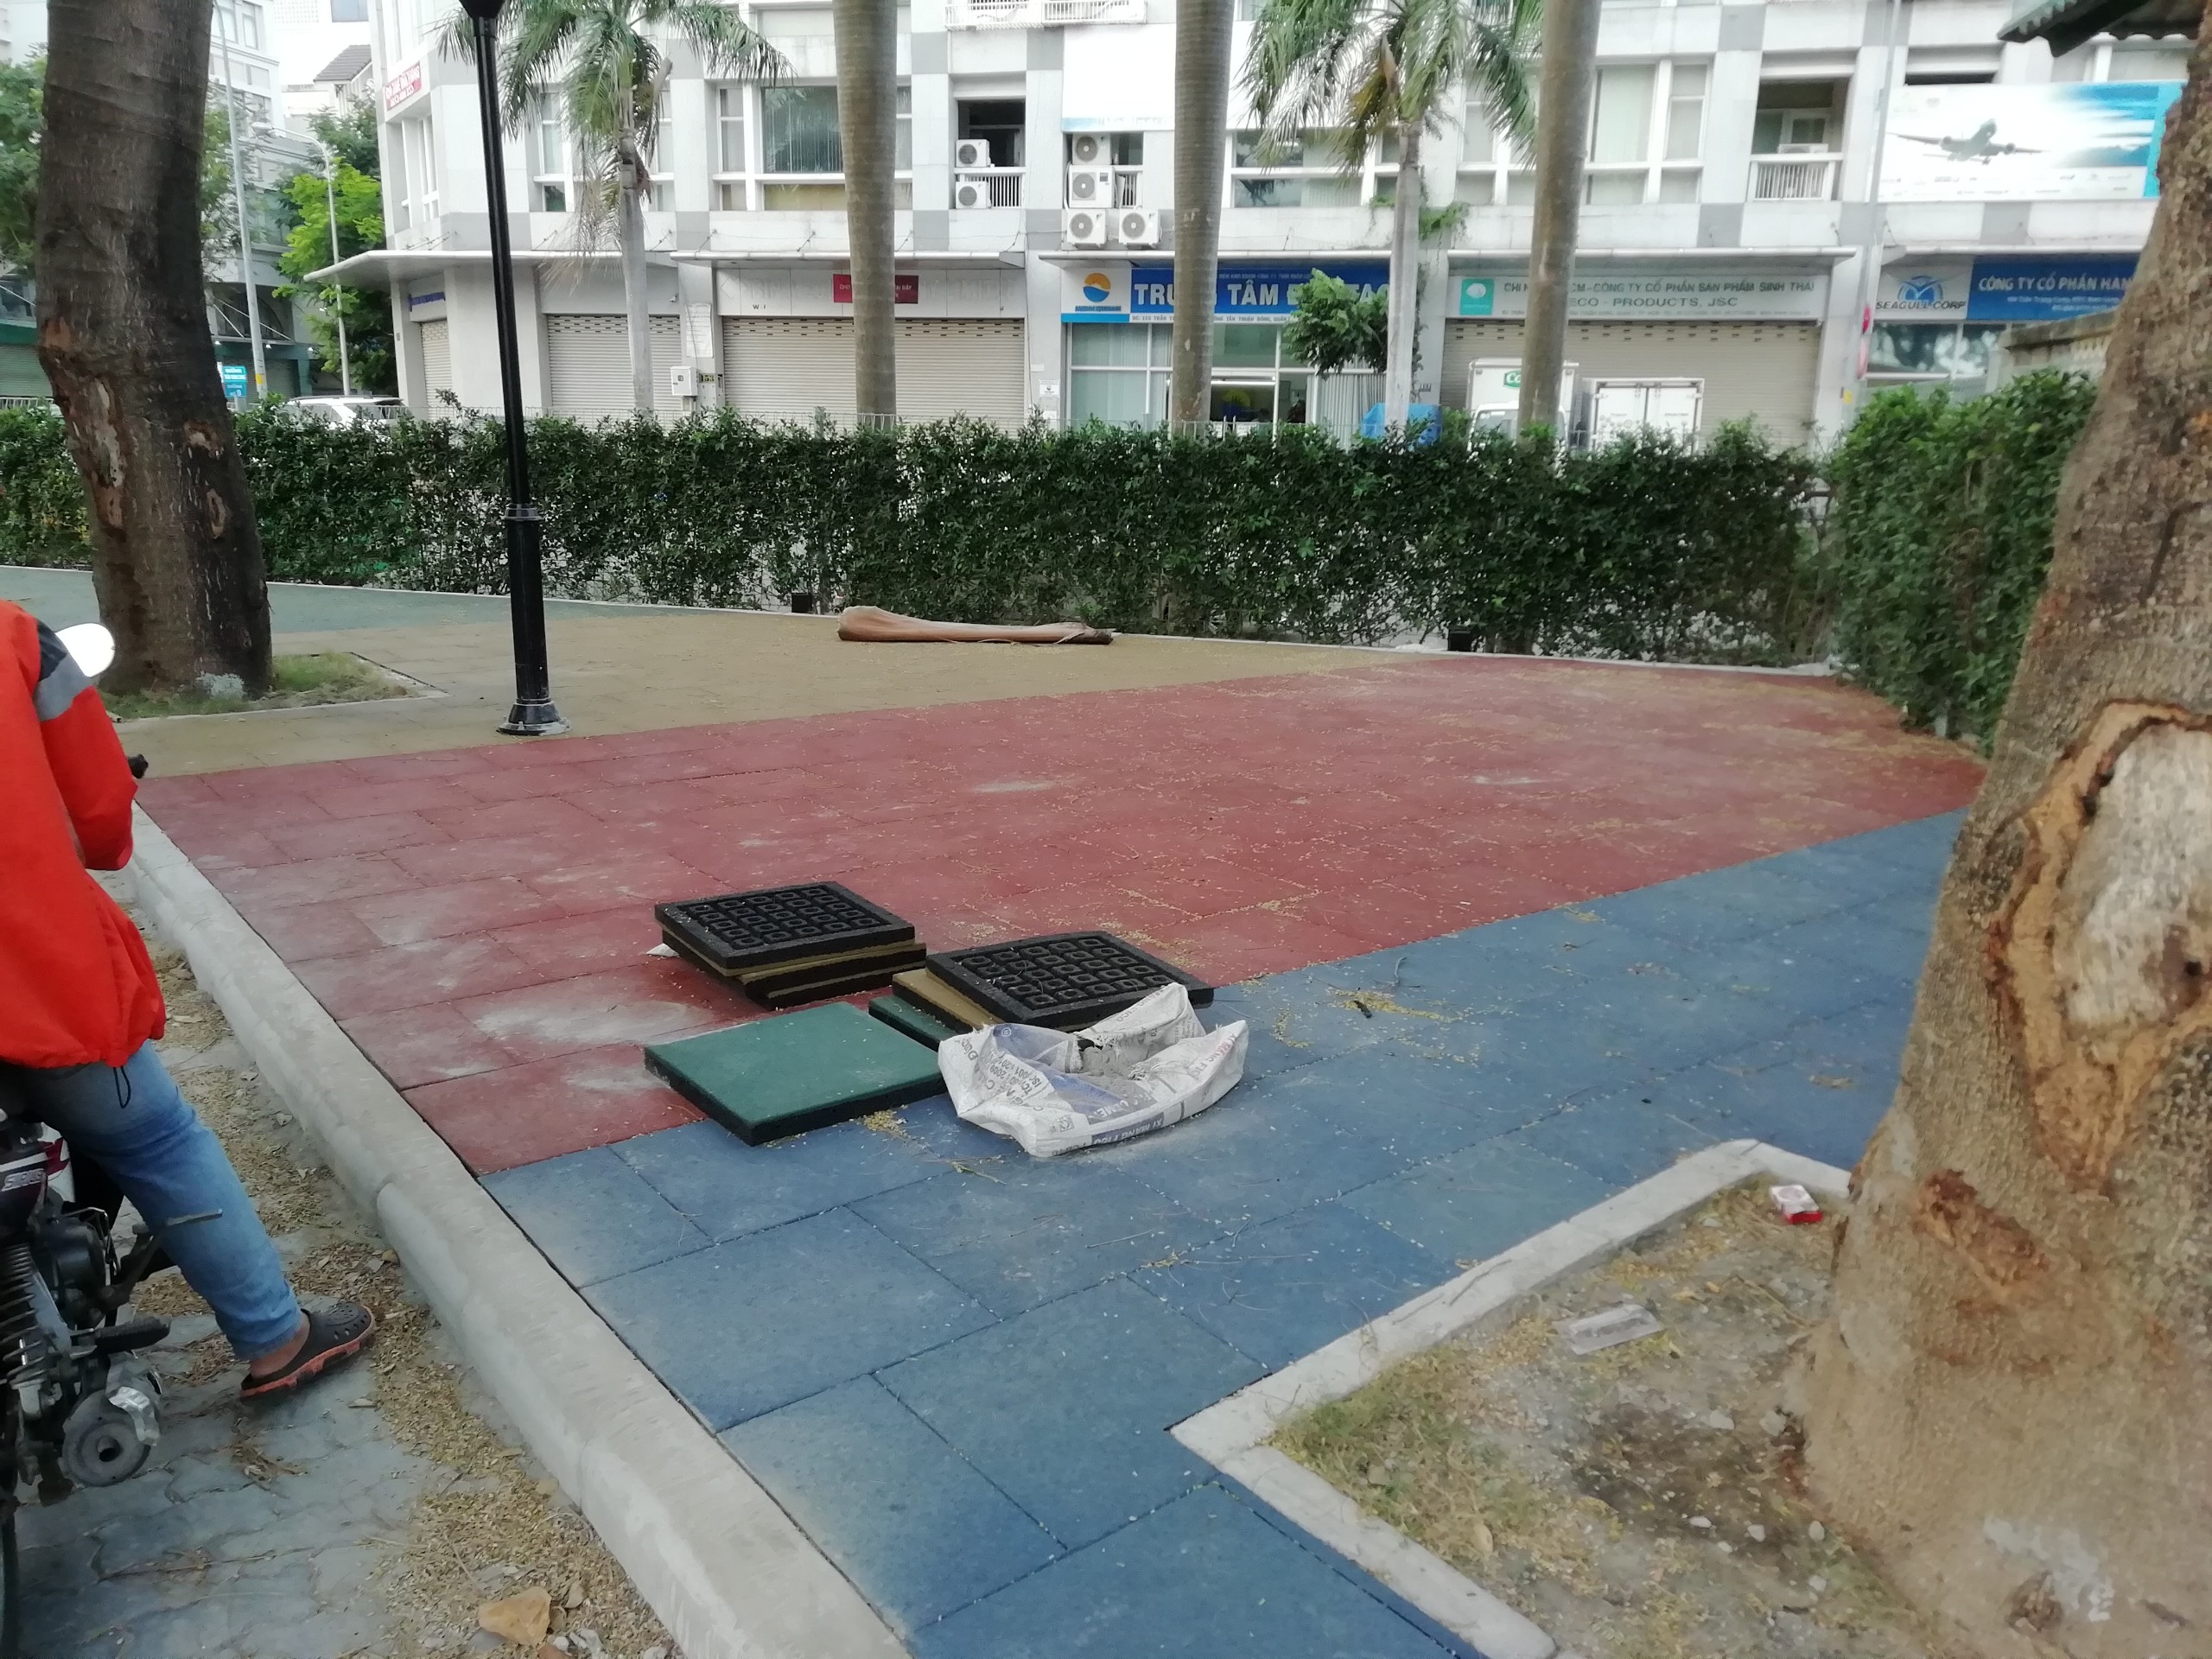
Noted: Don’t need to use glue for outdoor project because they already have borders around the floor, we just put the rubber tile together.
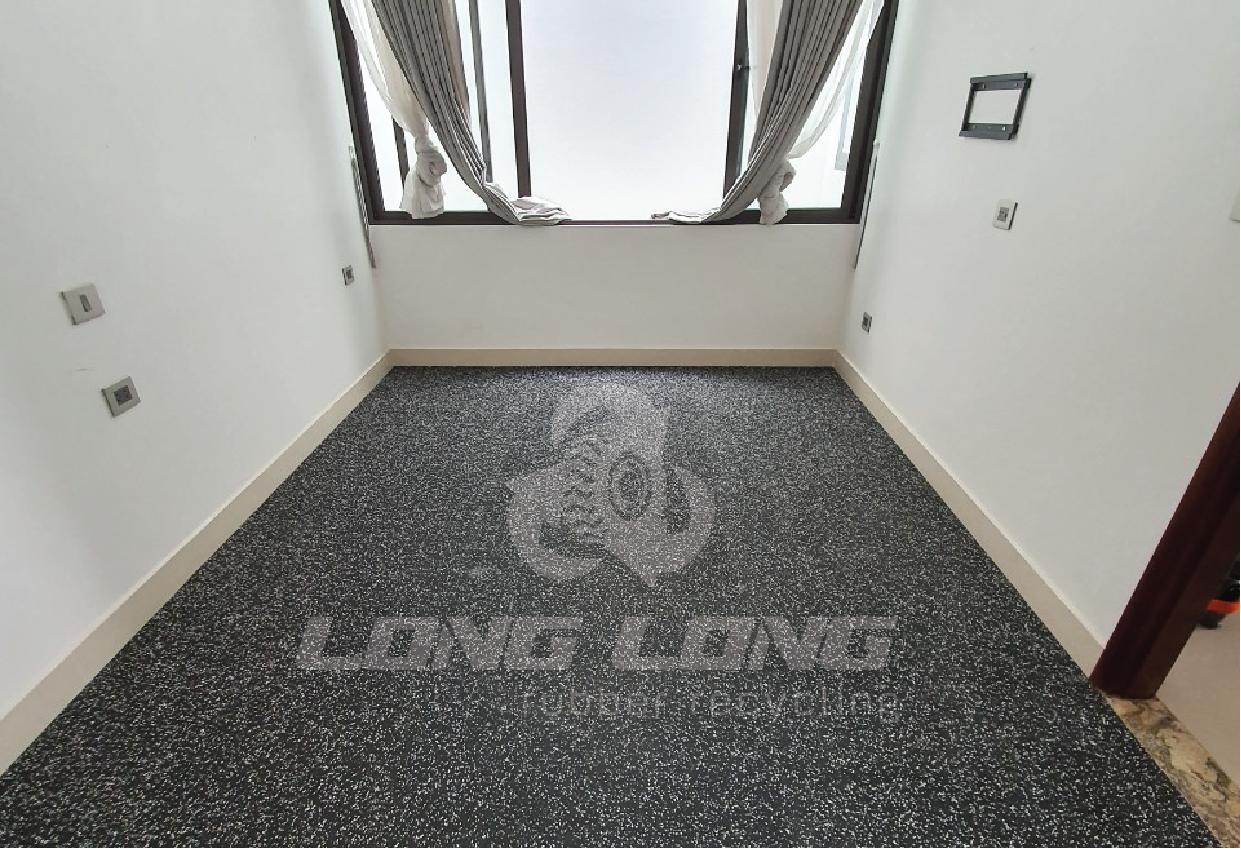
Kindly see pictures for gym rubber flooring installation :
if you have any questions, kindly let me know to support
THANK YOU!


main.comment_read_more